
What is Configured Scanning?
RAMP normally can't scan pages that sit behind a login, a cookie banner, an age-verification pop-up, or any other barrier that requires user action first. Configured Scanning removes that limitation.
- Browser: a recorded set of actions (signing in, accepting a cookie banner, closing a pop-up) that tells RAMP how to reach your content.
- Health check: confirms RAMP is actually getting where it needs to go (for example, that it's still signed in) before each scan.
Setup has two parts:
- Create the browser and its health check.
- Name the scan configuration, then decide who uses it: set it as the default for all pages, or assign it to specific pages.
Available on Pro and Pro+ plans. If you're currently using Bot Actions for custom configurations, contact us to switch over.
Before you begin
- Available on Pro and Pro+ plans.
- You can create up to 3 browsers per digital property, each with its own health check.
- Every website starts on RAMP's default (empty) configuration, called Incognito. You only need a browser if a page requires sign-in or another access step.
- Use test credentials for setup where possible, not your personal or admin login. Avoid entering sensitive credentials you wouldn't want stored in a recorded action.
Part 1: Set up a browser and health check
- Click into your property.
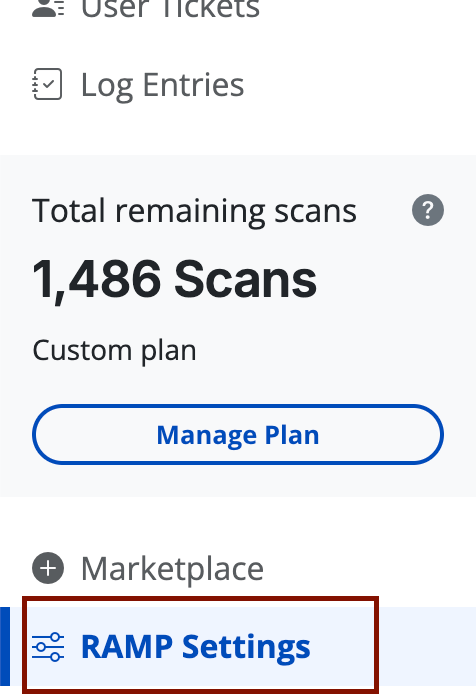
- Navigate to the RAMP settings tab in the sidebar.
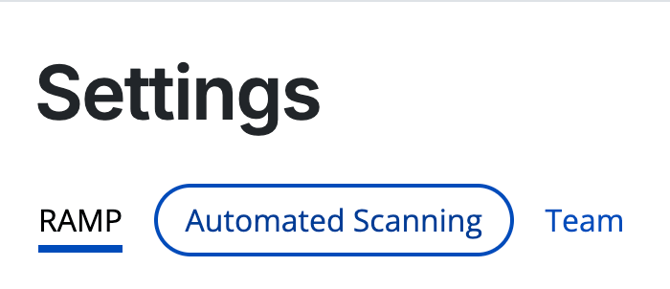
- Select the "Automated Scanning" tab on the settings page.
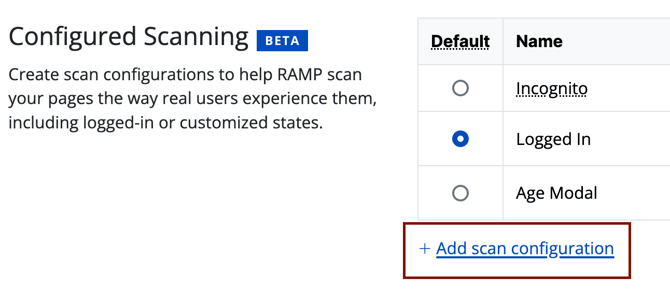
- Click the "Add scan configuration" button
- In the browser view RAMP provides, perform the actions you'd normally take to access your platform (for example, signing in or clearing a cookie banner).
- Select "Remember Me" when that option is available.
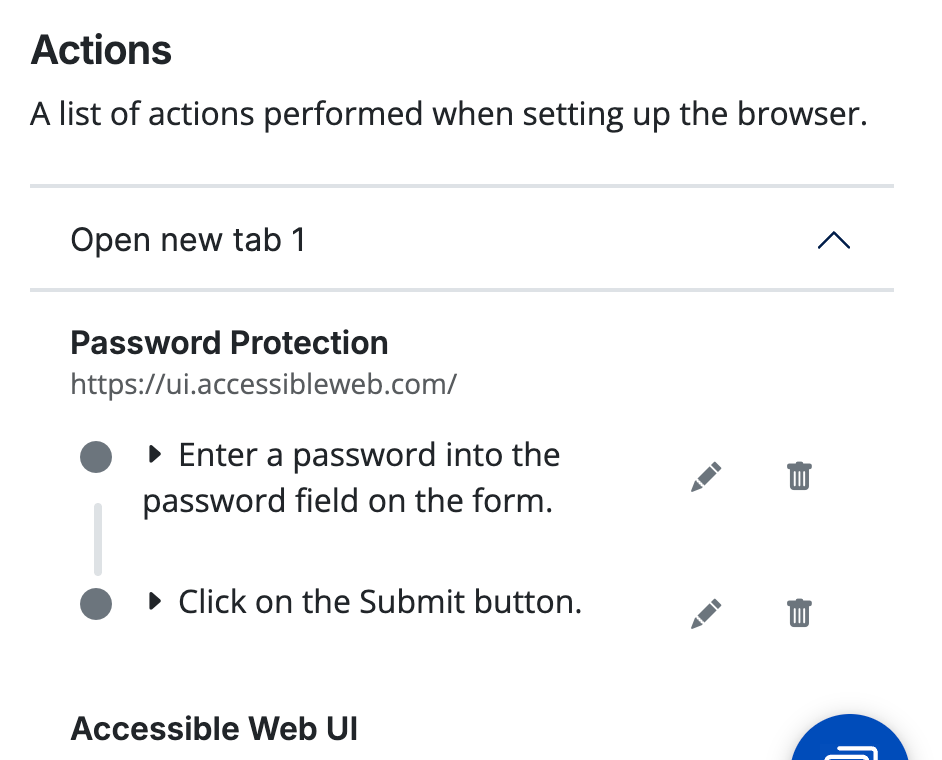
- Check that the steps in the Actions section were recorded accurately. You can edit them: update selectors, remove an action if you made a mistake, or update an input value you entered.
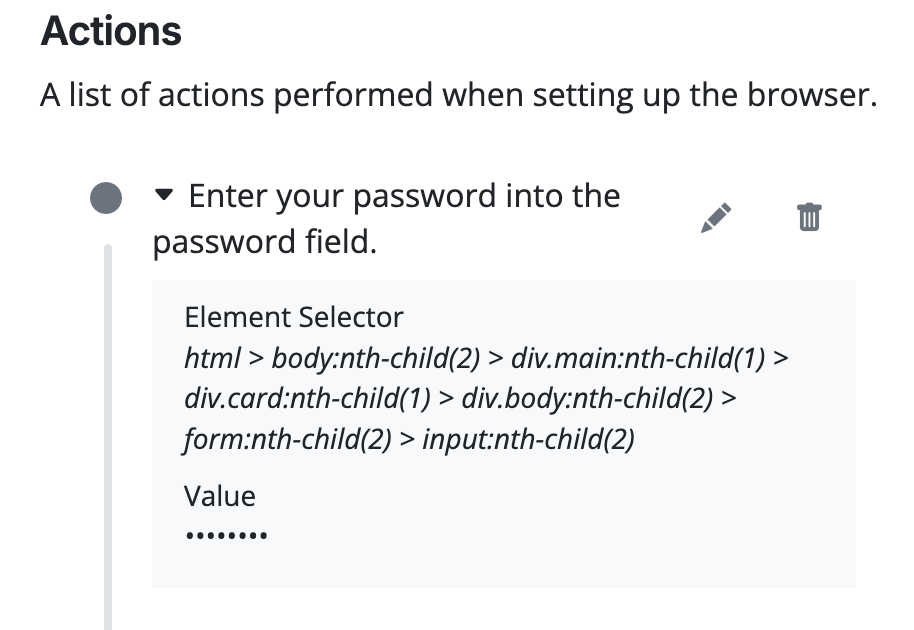
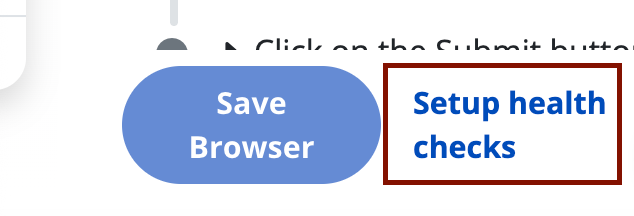
- Once you've accessed your platform (signed in successfully, cleared a cookie banner, etc.), click "Save Browser."
- Move to the "Setup Health Check" tab within the same page. This sets up a check that confirms RAMP is reaching the right page or content each time it scans, for example, that it's still signed in
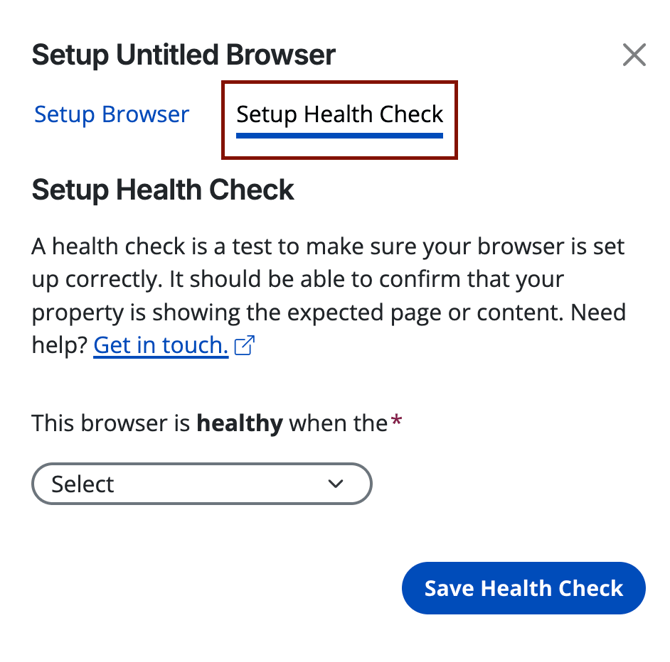
- Choose a method to determine if the browser is "healthy."
- For example: if the URL changes when you're on the login screen (not signed in), select "Destination page URL," then "doesn't contain," and enter the login page's URL. This tells RAMP that if the current page's URL does not contain the login page URL, it must still be signed in.
- Click "Save health check."
If a health check fails, RAMP pauses scanning for that browser profile's pages and emails your organization's admins. See Health Check Troubleshooting (coming soon) for more options and how to fix a failing check.
Part 2: Decide who uses this scan configuration
Every scan configuration needs a name. From there, decide whether it should apply broadly (set it as the default) or only to specific pages (assign it from the Pages tab).
- Exit the scan configuration setup window.
- Your new configuration now appears in the table as "Untitled scan configuration." Click the pencil icon next to it to rename it.

- Click the Save Settings button at the bottom of the page to save the name.
- A configuration does nothing until it's applied somewhere. To make it the default, select its radio button in the Default column. The default profile is used for any page that doesn't have a specific profile assigned to it.
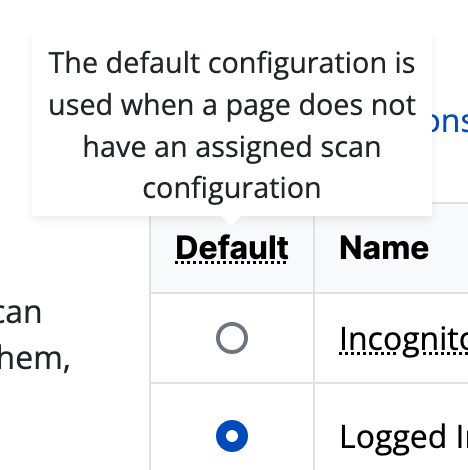
To assign this configuration to specific pages instead of setting it as the default, use one of the methods below.
In bulk, from the pages table
- Select the page by clicking its checkbox.
- Choose "Change Scan Configuration" in the actions bar

- Select the configuration you want to use.
From an individual page's details
- Click into a page
- Click the Edit Page Details button
- Select the scan configuration from the dropdown.
- Click Save.