
If your site doesn’t have a sitemap already, you can quickly and easily create one using one of the following methods.
- Use Your CMS to Generate a Sitemap
- Automatically Create a Sitemap
- Manually Create a Sitemap
1. Use Your CMS to Generate (or Find) a Sitemap
Since each CMS provider is slightly different, the most efficient method for creating a sitemap varies depending on which CMS your site uses. While many CMS providers now automatically generate XML Sitemaps, others still require plugins, extensions, or settings configurations to create a sitemap.
WordPress
To create a sitemap for your WordPress site, we recommend using a WordPress plugin like All in One SEO or Yoast SEO. Yoast SEO and All-in-One SEO are the most popular options.
To install a plugin on your WordPress website, open your WP dashboard, navigate to Plugins > Add New, and search for the plugin you want to install.
All in One SEO
Once installed and activated, you’ll see an All in One SEO tab on your WP admin dashboard. Enable your sitemap by going to All in One SEO > Sitemaps and clicking Enable Sitemap. Customize your sitemap from within this tab as well.
Yoast SEO
Once installed and activated, you’ll see a new SEO tab on your WP admin dashboard. In Yoast, you can enable your sitemap by clicking SEO > General Settings > Features and turning on the XML Sitemap feature. Read more about setting up and configuring your Yoast SEO Sitemap.
WordPress version 5.5 and above automatically generates a default sitemap for every website at https://www.yourdomain.com/wp-sitemap.xml. The default WordPress Sitemap is very basic, non-customizable, and includes everything on your site. WP’s default sitemap often includes older archives and anything you might have no-indexed, in addition to your relevant pages, which can cause issues on some sites.
Read more about WordPress Sitemaps from WordPress.com.
Magento
Magento sites like Wix and Shopify don't have automatically generated sitemaps. Luckily, Magento does have a built-in feature that allows you to generate and customize your XML Sitemap on the backend.
From your Magento Admin Panel, go to Marketing > Seo & Search > Site Map > click the Add Sitemap button.
Next, a “New Site Map” window will open up. In the Filename field, type “sitemap.xml” and, in the Path field, type “/” — this will become your sitemap path (/sitemap.xml).
Finally, click “Save” and then click the “Generate” button to generate/update your sitemap.
Read “How to generate XML and HTML Sitemaps in Magento 2?” for in-depth instructions.
Joomla!
Numerous extensions are available to help you generate a sitemap for your Joomla! site. We recommend exploring Joomla’s Extension Dictionary’s sitemap section.
OSMap is one of the more popular Joomla extensions for SEO and XML Sitemap generation.
If your site is small and simple, it’s also possible to manually create an XML Sitemap for your website. Continue reading below for more information on manually creating sitemaps.
Drupal
Working with a Drupal site? The easiest way to create an XML Sitemap for your Drupal site is to use a Drupal module.
One of the most popular modules for creating Drupal Sitemaps is called XML Sitemap. This module can be used to generate an XML Sitemap. The XML Sitemap module can be installed like any other Drupal module. You can adjust your sitemap’s settings by going to admin/config/search/xmlsitemap.
Once you’ve installed and properly configured this Drupal module, your sitemap will be located at http://yoursite.com/sitemap.xml. Your sitemap path, which you’ll input in RAMP to set up Page Monitoring, will be /sitemap.xml.
Visit the XML Sitemap module's handbook documentation for full and detailed instructions on installing and configuring XML sitemap for Drupal.
2. Automatically Generate and Manually Upload a Sitemap
If your website isn’t built on any of the above CMS platforms, you can create and upload your own XML Sitemap with the assistance of website crawling tools. Website crawlers and sitemap generators crawl websites to generate a list of URLs, which can be saved as an XML Sitemap file.
The following tools offer free versions and can be used to generate sitemap files for most websites:
XML-sitemaps.com
With XML-sitemaps.com, you just enter your domain URL and click Start. Once the scan is complete, just download the XML sitemap file, upload it to your site’s root, and add it to your /robots.txt file.
The free version of XML-Sitemaps.com will generate an XML Sitemap file with up to 500 pages. The XML-Sitemaps tool allows you to upgrade to include more than 500 pages.
Screaming Frog
Screaming Frog is one of the most popular website crawlers. You can crawl up to 500 pages for free. In addition to automatically generating sitemaps, Screaming Frog can be used to export CSV, Google Sheets, and Excel Workbook files.
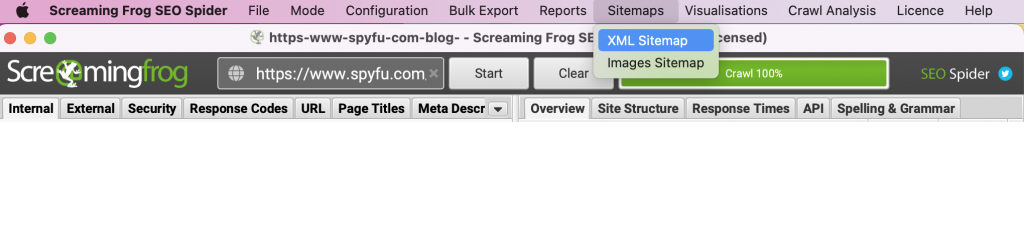
Enter your domain URL and click Start to generate a sitemap using Screaming Frog. Screaming Frog will then begin crawling your site and generating a list of URLs.
Once the scan is complete, click Sitemaps > XML Sitemaps from the top menu bar.
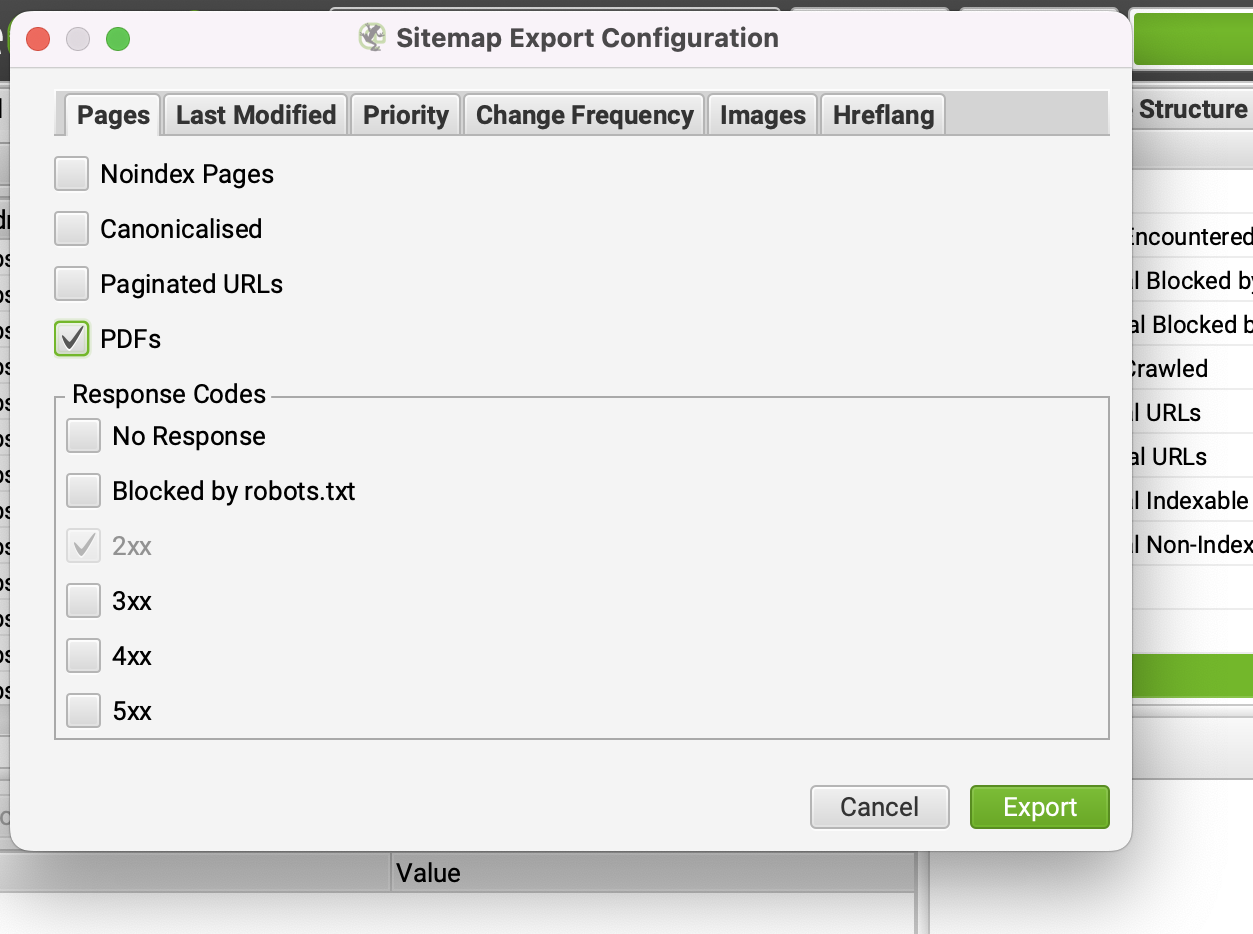
A pop-up window will appear. We recommend only checking the checkbox next to “PDFs” and leaving the rest unchecked. Click Next.
Your sitemap file should be ready to upload now! Just upload it to your website’s root file and add the sitemap URL to your /robots.txt file.
3. Manually Create and Upload a Sitemap
If your website is small, consisting of only a couple dozen URLs or so, you can manually create a sitemap by following XML Sitemap formatting guidelines. The downside of manually creating a sitemap is that it won’t stay updated as your website changes. For this reason, we ONLY recommend this option if there isn’t a solution for a dynamic sitemap.
First, gather all your page URLs. For very small sites, you can gather them by following each of your site’s navigation menus/paths down to their deepest level. As you manually gather your URLs, begin grouping them into logical categories. It makes sense to group URLs similarly to how they’re organized in your navigation menus (About, Shopping, Blog, Contact Us, etc.).
Next, code your URLs. You’ll want to use a text editor to create your XML file. If you aren’t familiar with XML, which stands for “extensible markup language,” you can review XML tag definitions and formatting standards from sitemaps.org.
Once you’ve coded your URLs, it is time to validate your sitemap. Before adding it to your site, use a free online tool, like XML-Sitemaps.com’s validator tool, to check that your XML sitemap is properly formatted and operational.
Finally, upload your XML sitemap file to your website's root folder and to your robots.txt file, which can also be found there.
For even more in-depth instructions on manually creating a sitemap, read 5 Easy Steps to Creating a Sitemap For a Website from QuickSprout.com.