
Accessible Web for Jira integrates RAMP’s powerful accessibility management tools with Jira, allowing you to manage and synchronize accessibility tasks directly within your Jira environment.
You can install the Jira app from our Atlassian marketplace listing. This integration is only available for users on our Pro and Pro+ RAMP plans.
Connecting your Jira account
- Select a website in RAMP and navigate to RAMP Settings > Integrations.
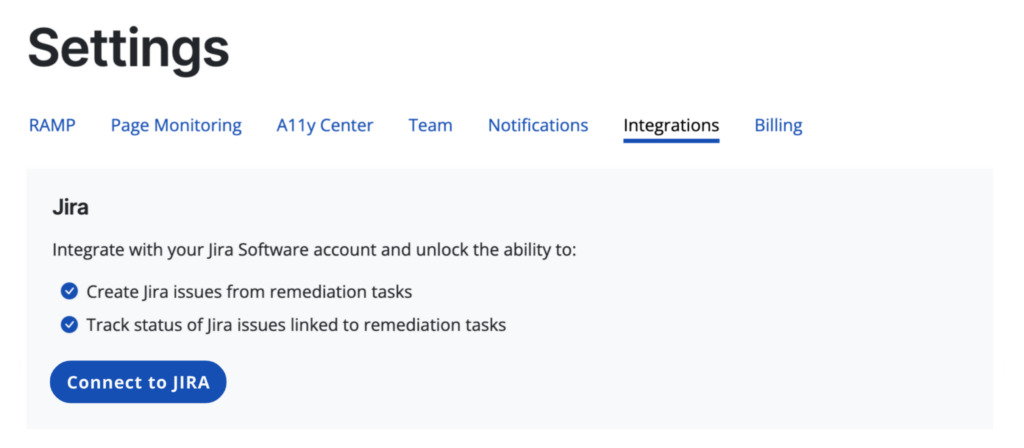
- Click “Connect to Jira” to open the instructions modal.
- Add the Accessible Web App to your Jira account.
- Enter the provided pairing code in Jira.
Using the integration
This integration will allow you to:
- Create Jira issues from remediation tasks,
- Sync and track the statuses of Jira issues linked to remediation tasks, and
- Filter by Jira status in RAMP.
Creating Jira issues from remediation tasks
Adding a task
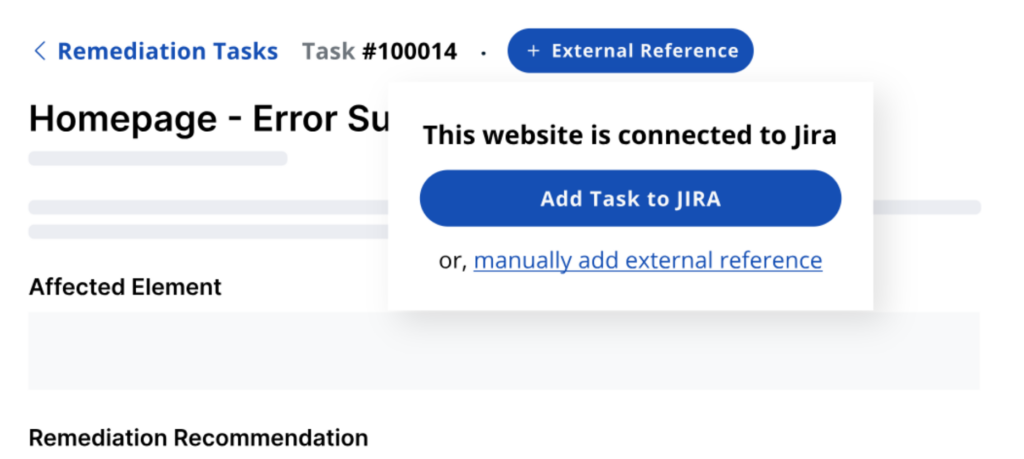
- Navigate to the remediation task you want to create in Jira
- Click “External Reference” > “Add Task to Jira”
- A pop-up "Add to Jira" will appear where you can select the Space, Issue Type (Choose from: Task, Story, Bug, Epic), and add any Labels you see fit
Adding tasks in bulk
- Navigate to the Remediation Tasks tab
- Select the tasks you want to create in Jira
- Select “Add to Jira" from the floating gray bar at the bottom of your screen

- A pop-up "Add to Jira" will appear where you can select the Space, Issue Type (Choose from: Task, Story, Bug, Epic), and add any Labels you see fit
Custom field types
Users can now create issues for projects with custom fields, which are defined and created in Jira. When a user creates a Jira issue, in addition to selecting a space, issue type, and label, the form now includes inputs for the project’s custom fields.
Note: We do not currently support all Jira custom field types since they are specific to each Jira space. We currently support basic field types, like text, number, select, and similar fields.
If you want to add an unsupported field type, contact us via in-RAMP messaging or email at support@accessibleweb.com so our team can add support.