
How to add your sitemap to RAMP:
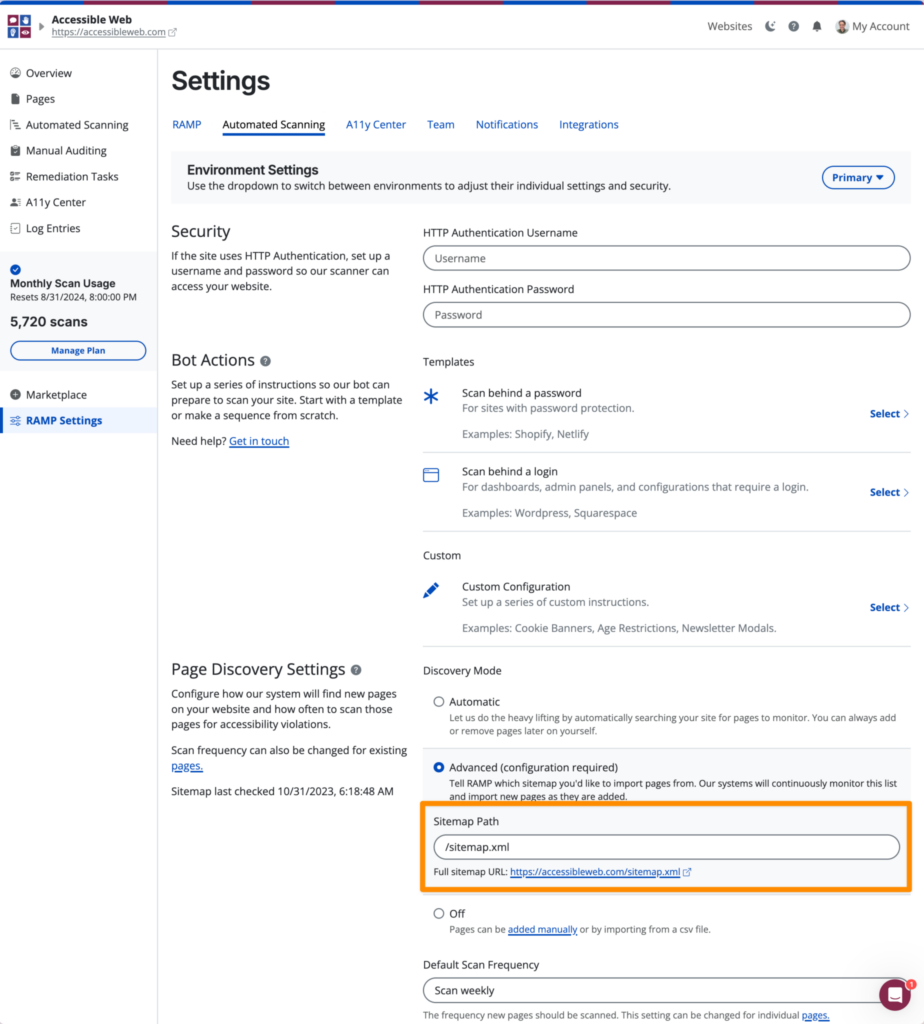
- Navigate to “Settings” in the lower lefthand corner of RAMP.
- Select “Automated Scanning” from the horizontal menu bar.
- Add your sitemap path in the specified field (example: /sitemap.xml).
- Click “Save” at the bottom of the page.
Once you’ve added your sitemap path, your web pages will automatically be imported into RAMP. You can view the pages you’ve imported from the Pages tab.
When new pages are added to your sitemap, they will also be added to RAMP and scanned for accessibility issues. Accessible Web RAMP will not delete pages that are removed from your sitemap. Similarly, if RAMP automatically adds a page from your sitemap, which you later delete, we will not re-add the page to your RAMP account.
If your website has more pages than monthly scans in your plan, RAMP will automatically ingest all your website’s pages but will only scan the first pages until your monthly limit is exhausted. This will happen automatically. If you want more control over which pages are scanned, we recommend importing your web pages via CSV file upload, instead of by linking your sitemap.